One-Click Docker Hosting
Are you ready to take your Dockerized application live in no time? With Miget, deploying your app is simpler than ever! In just a few steps, you can go from your Dockerfile to a running application. Let's dive into the process.
Step 1: Prepare Your Dockerfile
Before anything else, make sure your Dockerfile is well-structured and ready for deployment. Clone a local version of the Miget's dockerfile hello world sample application that you can then deploy to Miget. Run these commands in your local terminal:
# Clone the Miget dockerfile hello world sample application
git clone https://github.com/migetapp/dockerfile-hello-world.git
Navigate to the cloned directory:
cd dockerfile-hello-world
Before anything else, make sure your Dockerfile is well-structured and ready for deployment. This file contains all the commands needed to assemble your application. Here's a simple example to get you started:
# Use an Nginx unprivileged image to serve the static files
FROM nginxinc/nginx-unprivileged
COPY nginx-config/default.conf /etc/nginx/conf.d/default.conf

# Copy the built static site from the builder image
COPY src /usr/share/nginx/html

# Miget will use this port to serve your application, this is default miget port
EXPOSE 5000

# Start Nginx server
CMD ["nginx", "-g", "daemon off;"]
Make adjustments according to your application's requirements, but this serves as a solid foundation.
Step 2: Build Your Docker Image
Once your Dockerfile is ready, it's time to build your Docker image. Open your terminal and navigate to the directory where your Dockerfile is located. Run the following command:
docker build -t dockerfile-hello-world .
You can now run your Docker image locally to test it:
docker run -p 5000:5000 dockerfile-hello-world
Step 3: Sign Up on Miget
If you haven’t already, sign up for an account on Miget here: https://app.miget.com/users/sign_up. It’s quick, simple, and you’ll be ready to start deploying your applications in no time! Fell free to sign up with your GitHub or Google account.
Step 4: Create Your Dockerized App on Miget
Once you have an account, you can create your Dockerized app on Miget. Follow these steps:
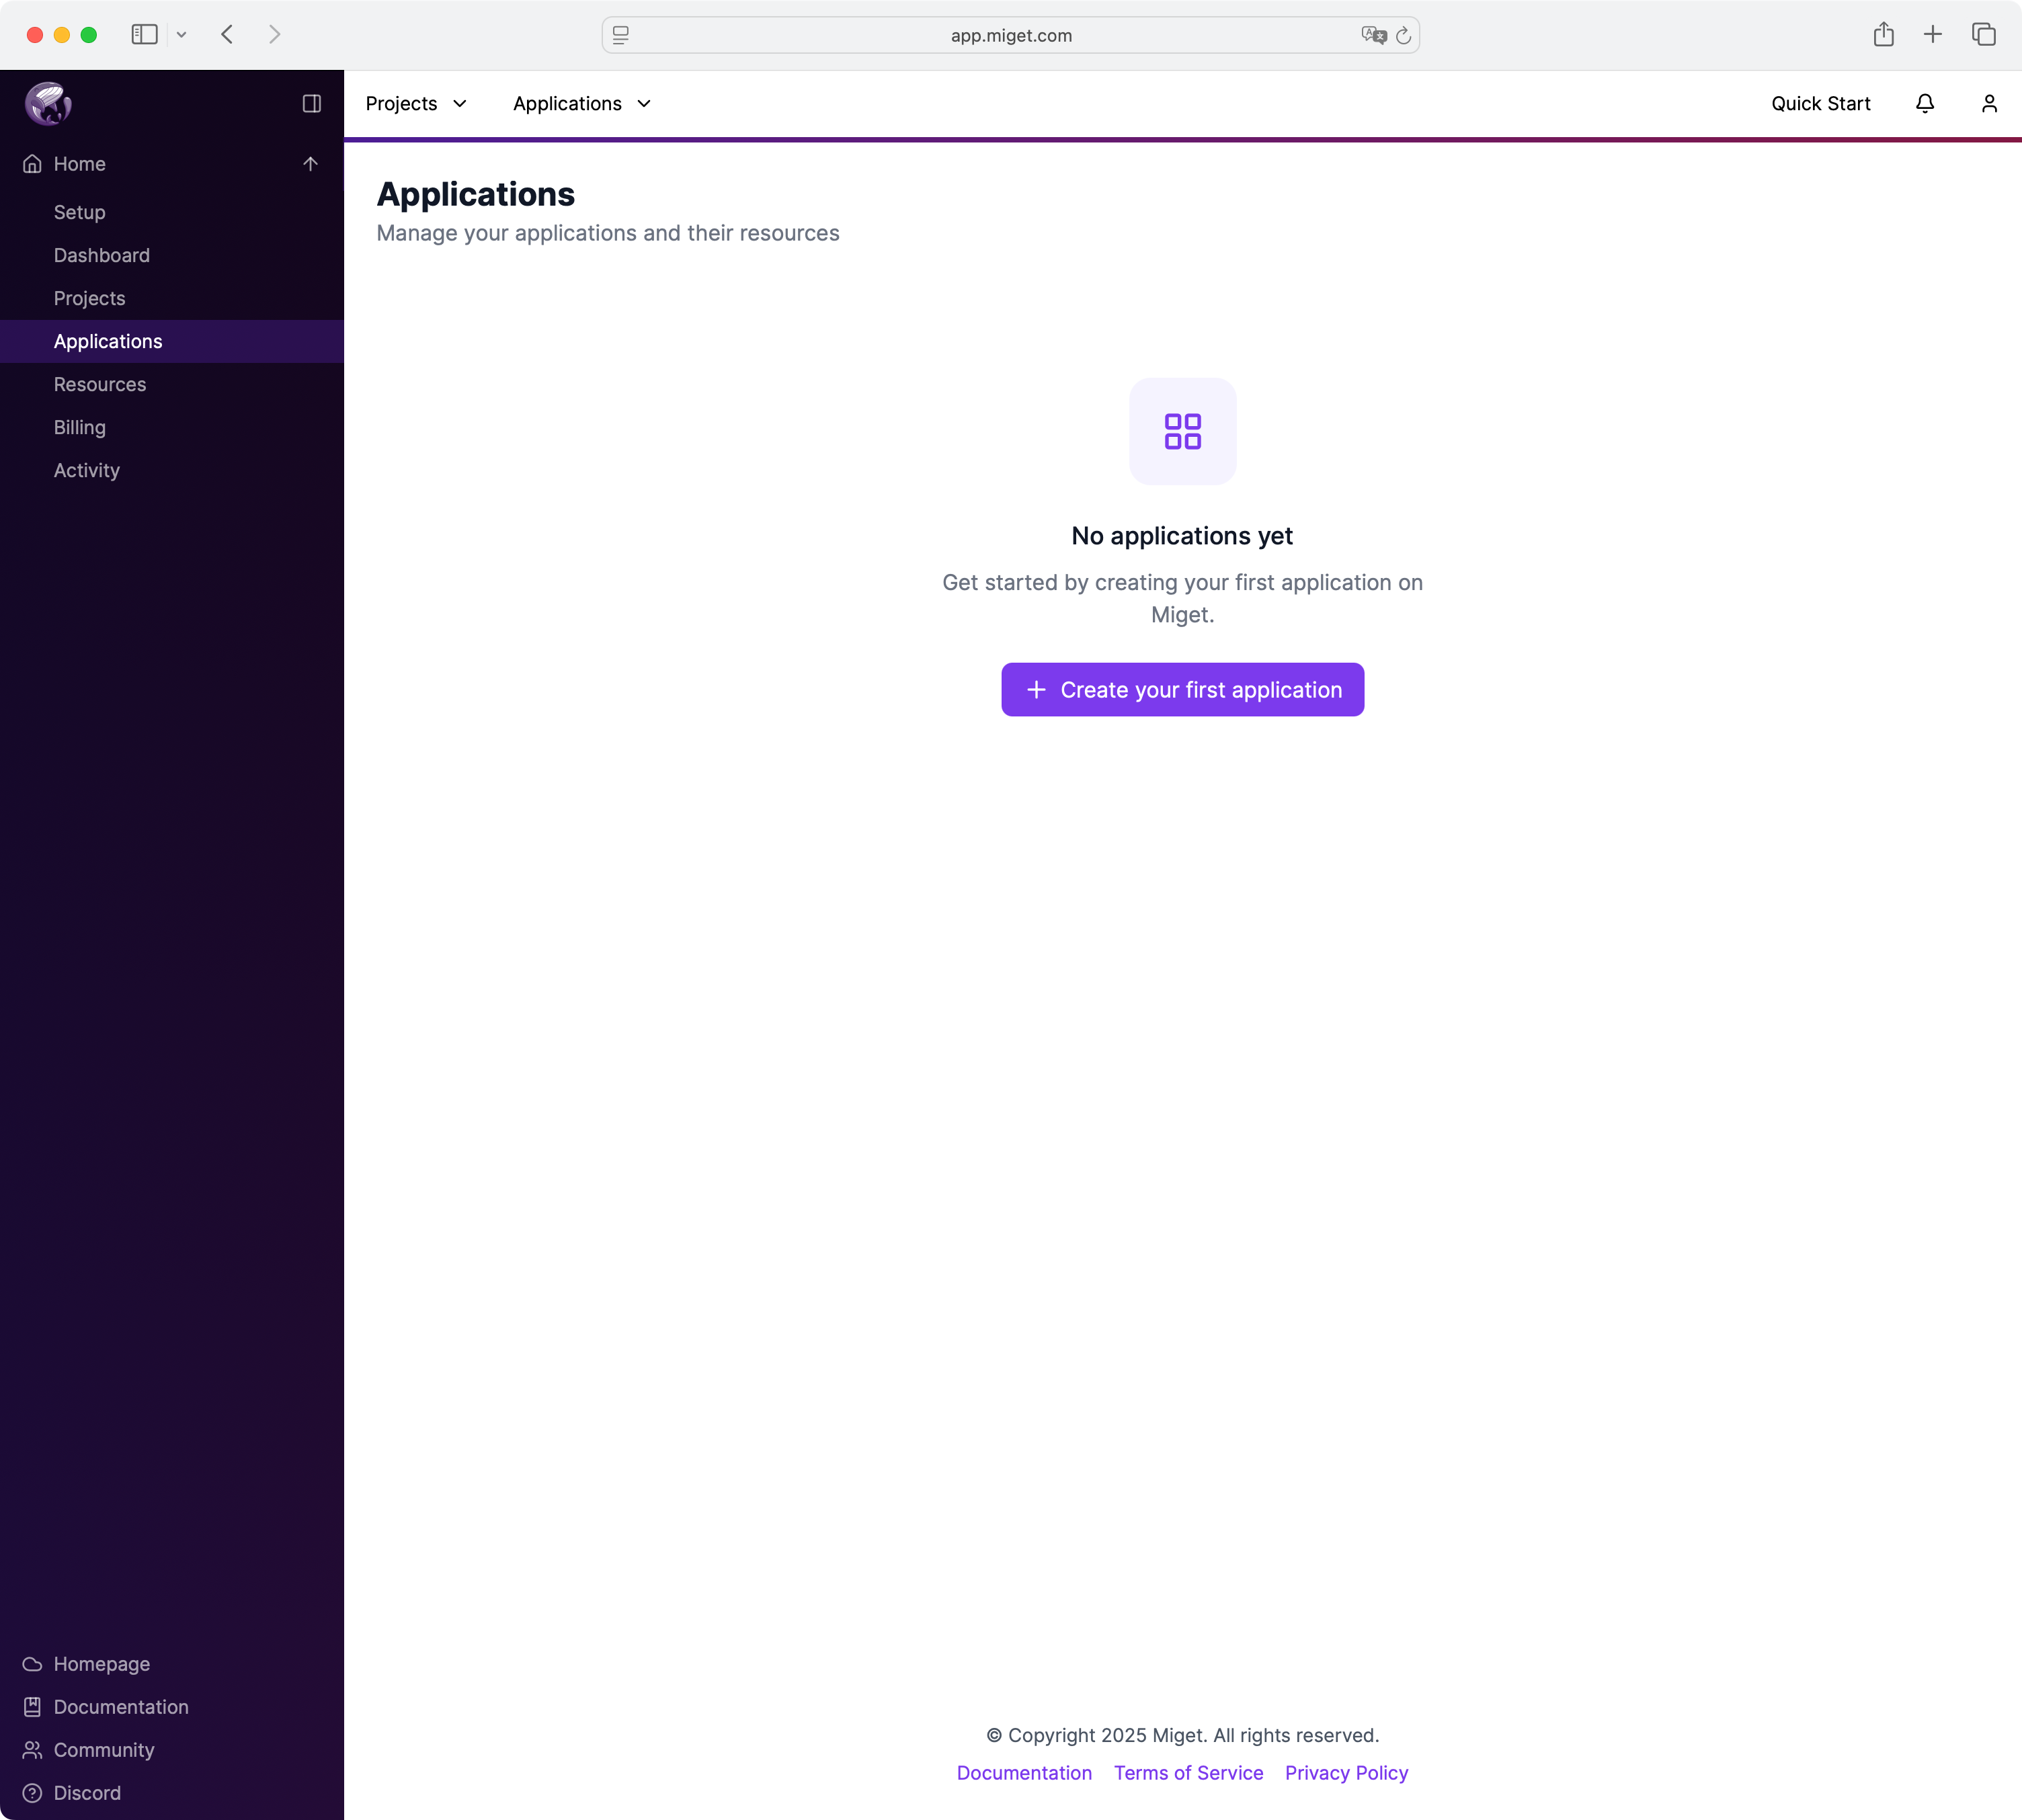
Create a New Application
Head to the Applications section in the sidebar and click + Create your first application.
Fill Out Basic Info
Give your app a name and codename. The codename must be unique and only use lowercase letters, numbers, and hyphens.
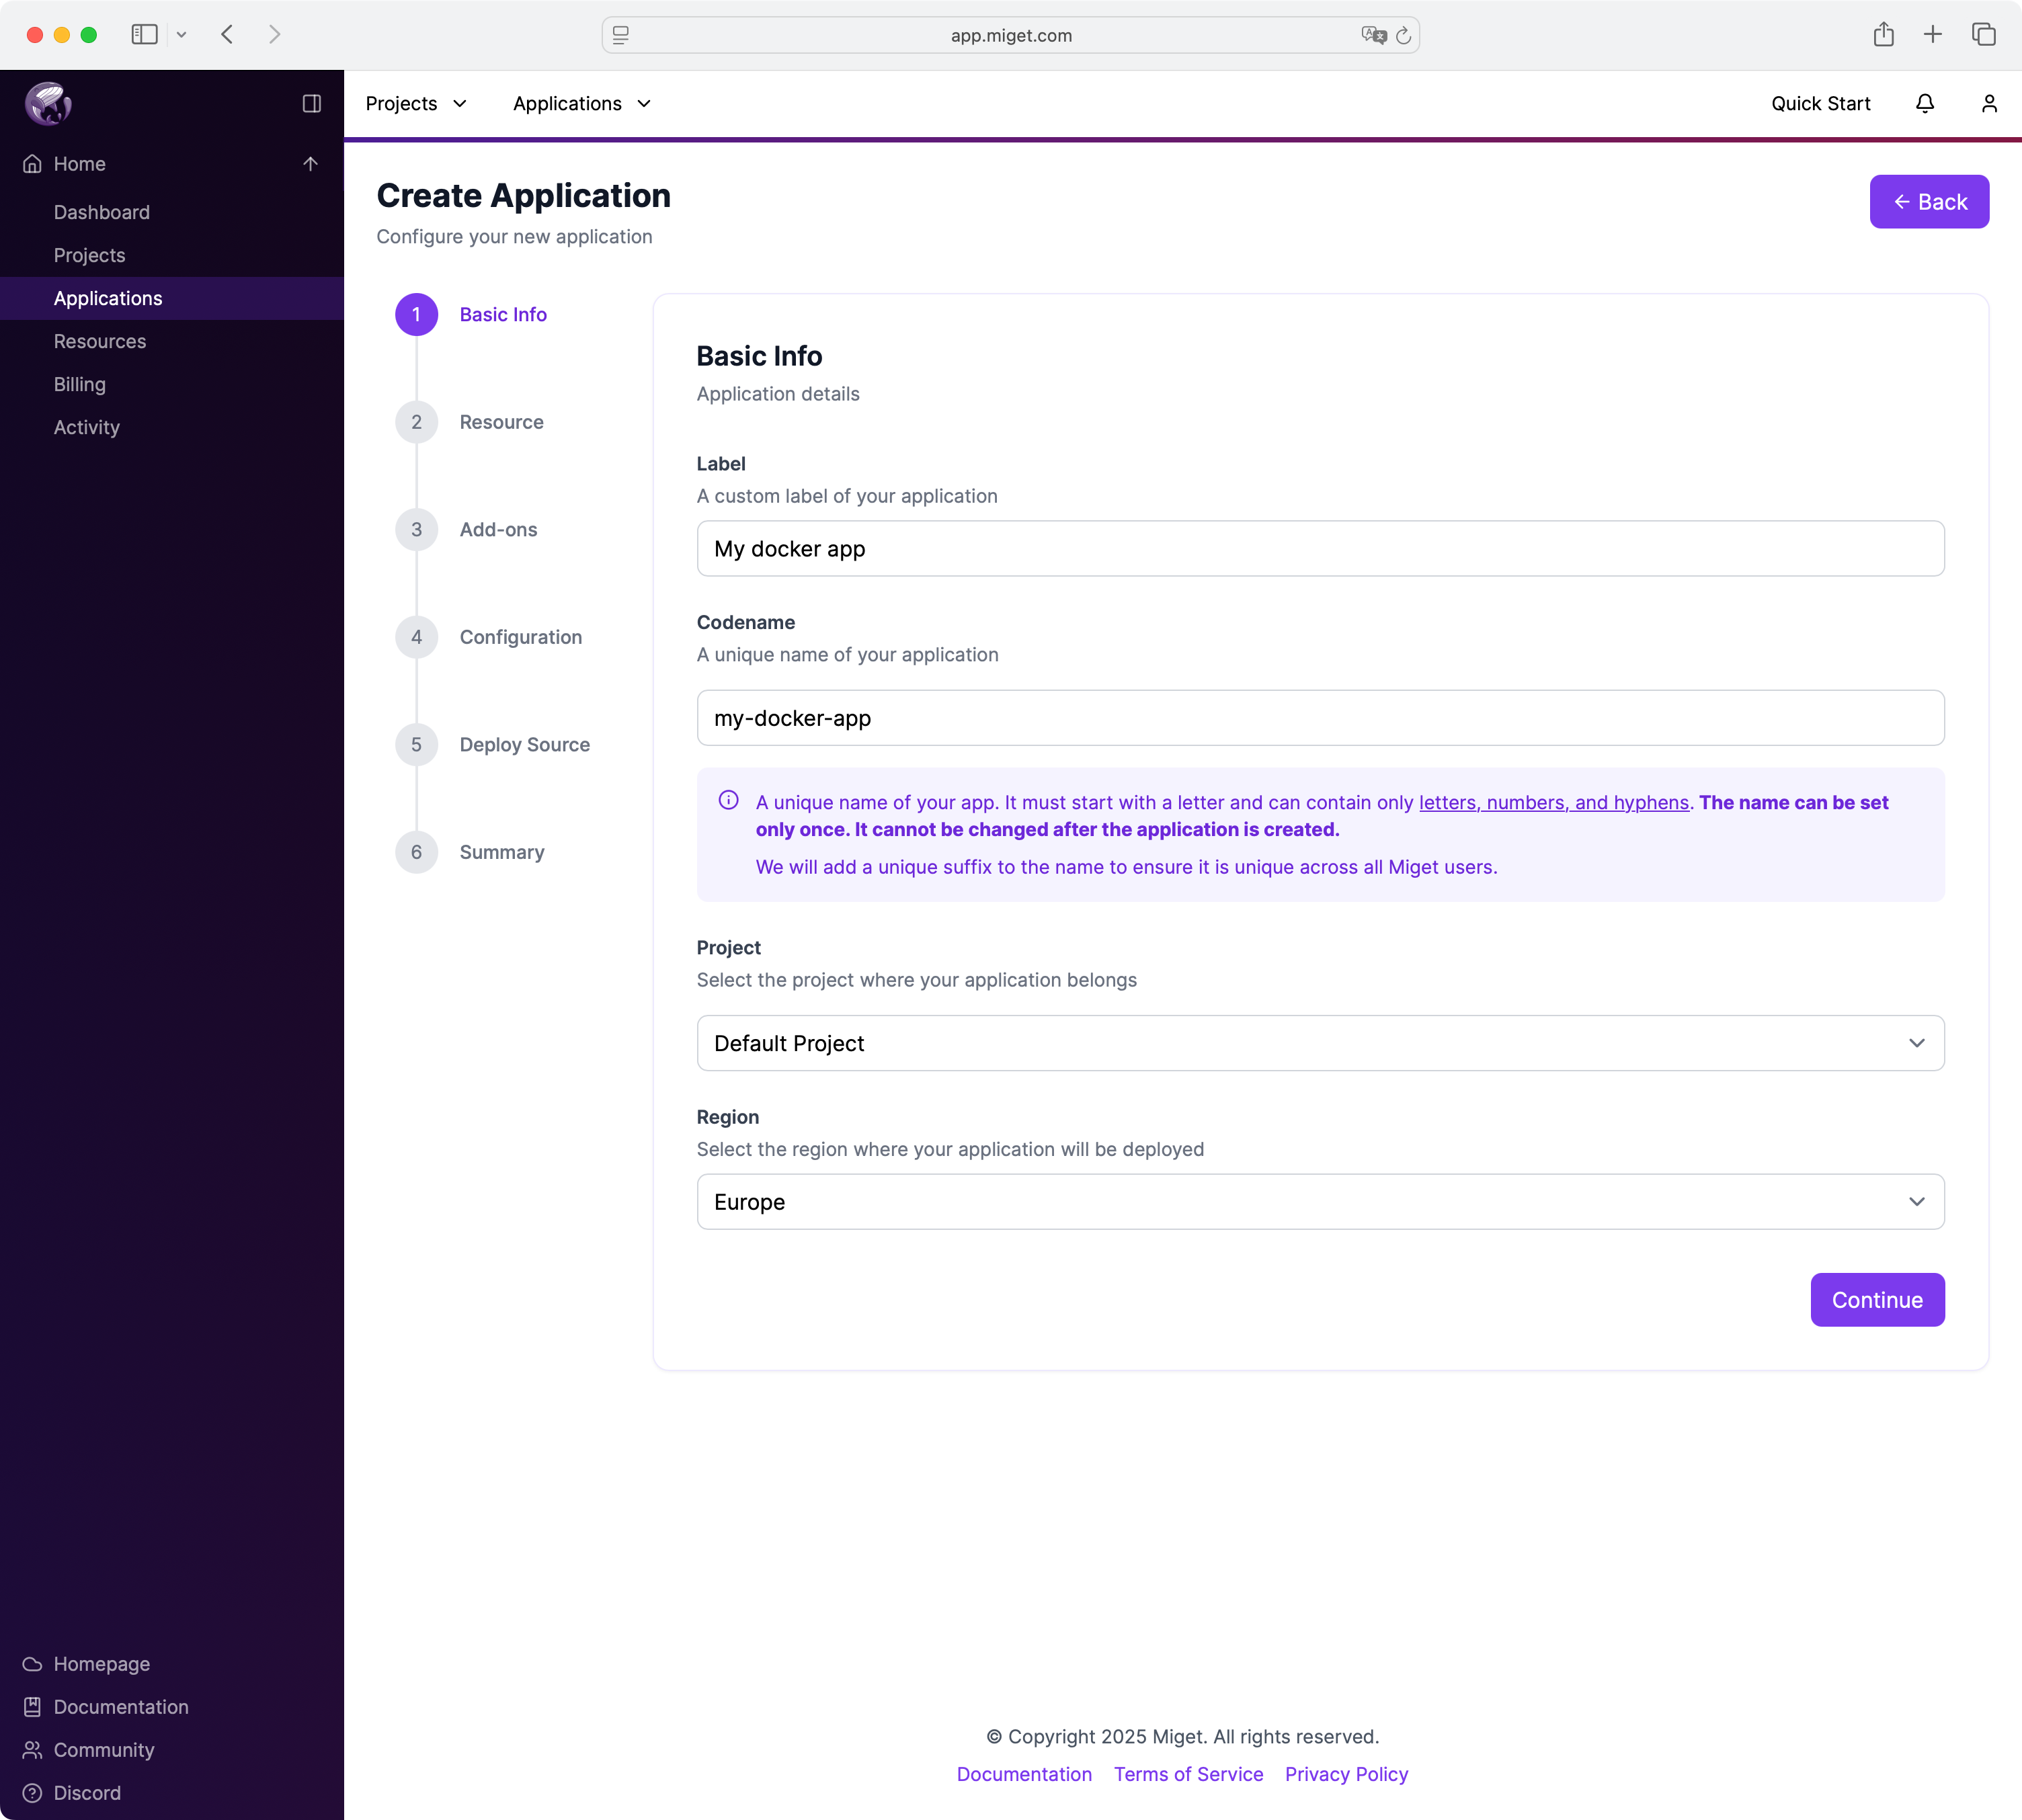
Choose a project and region (e.g., Default Project and Europe), then click Continue.
Choose Your Resource
Pick an available resource (e.g., migetfgj (Miget M)), which defines how much CPU, RAM, and storage your all apps will get to share.
A resource is a Kubernetes namespace, where your Dockerized app will run. You can create multiple resources to separate your apps and manage resources more efficiently. You can also scale your resources up or down to meet your needs.

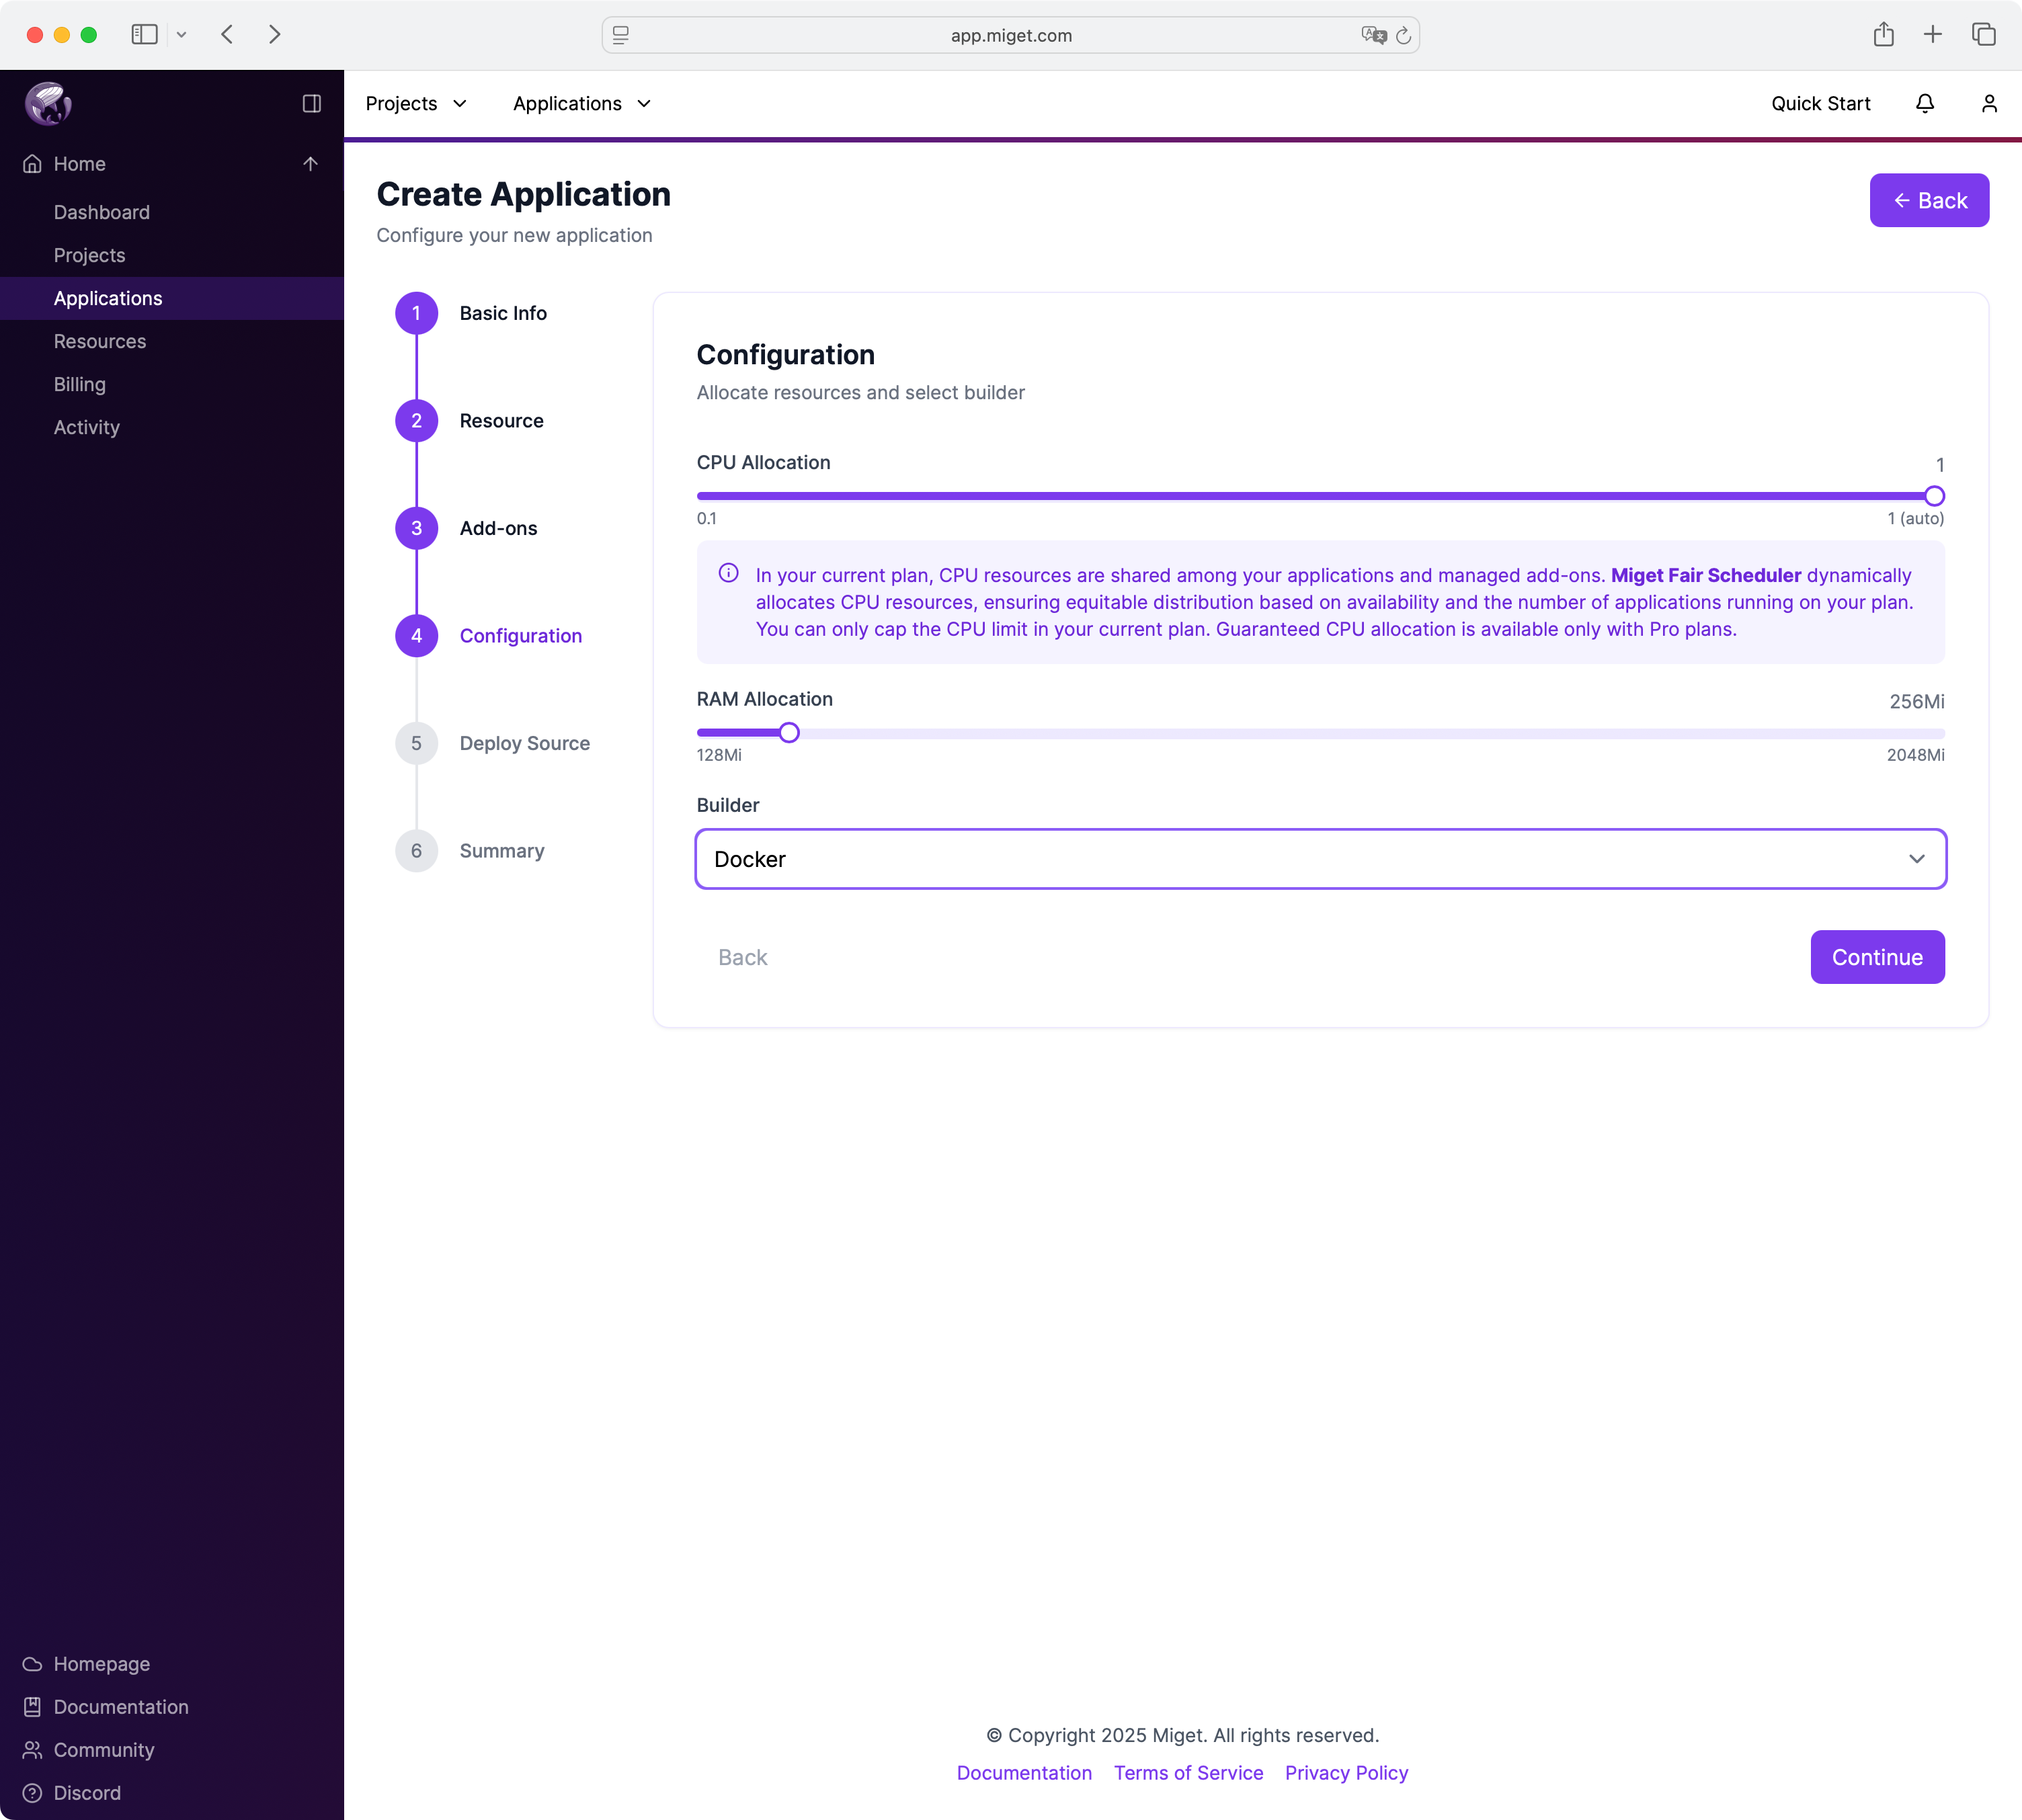
Configure Resources and Select Builder
Allocate CPU and RAM depending on your needs. For a basic app, start with 0.1 CPU and 128Mi RAM. Then, select the Docker builder.
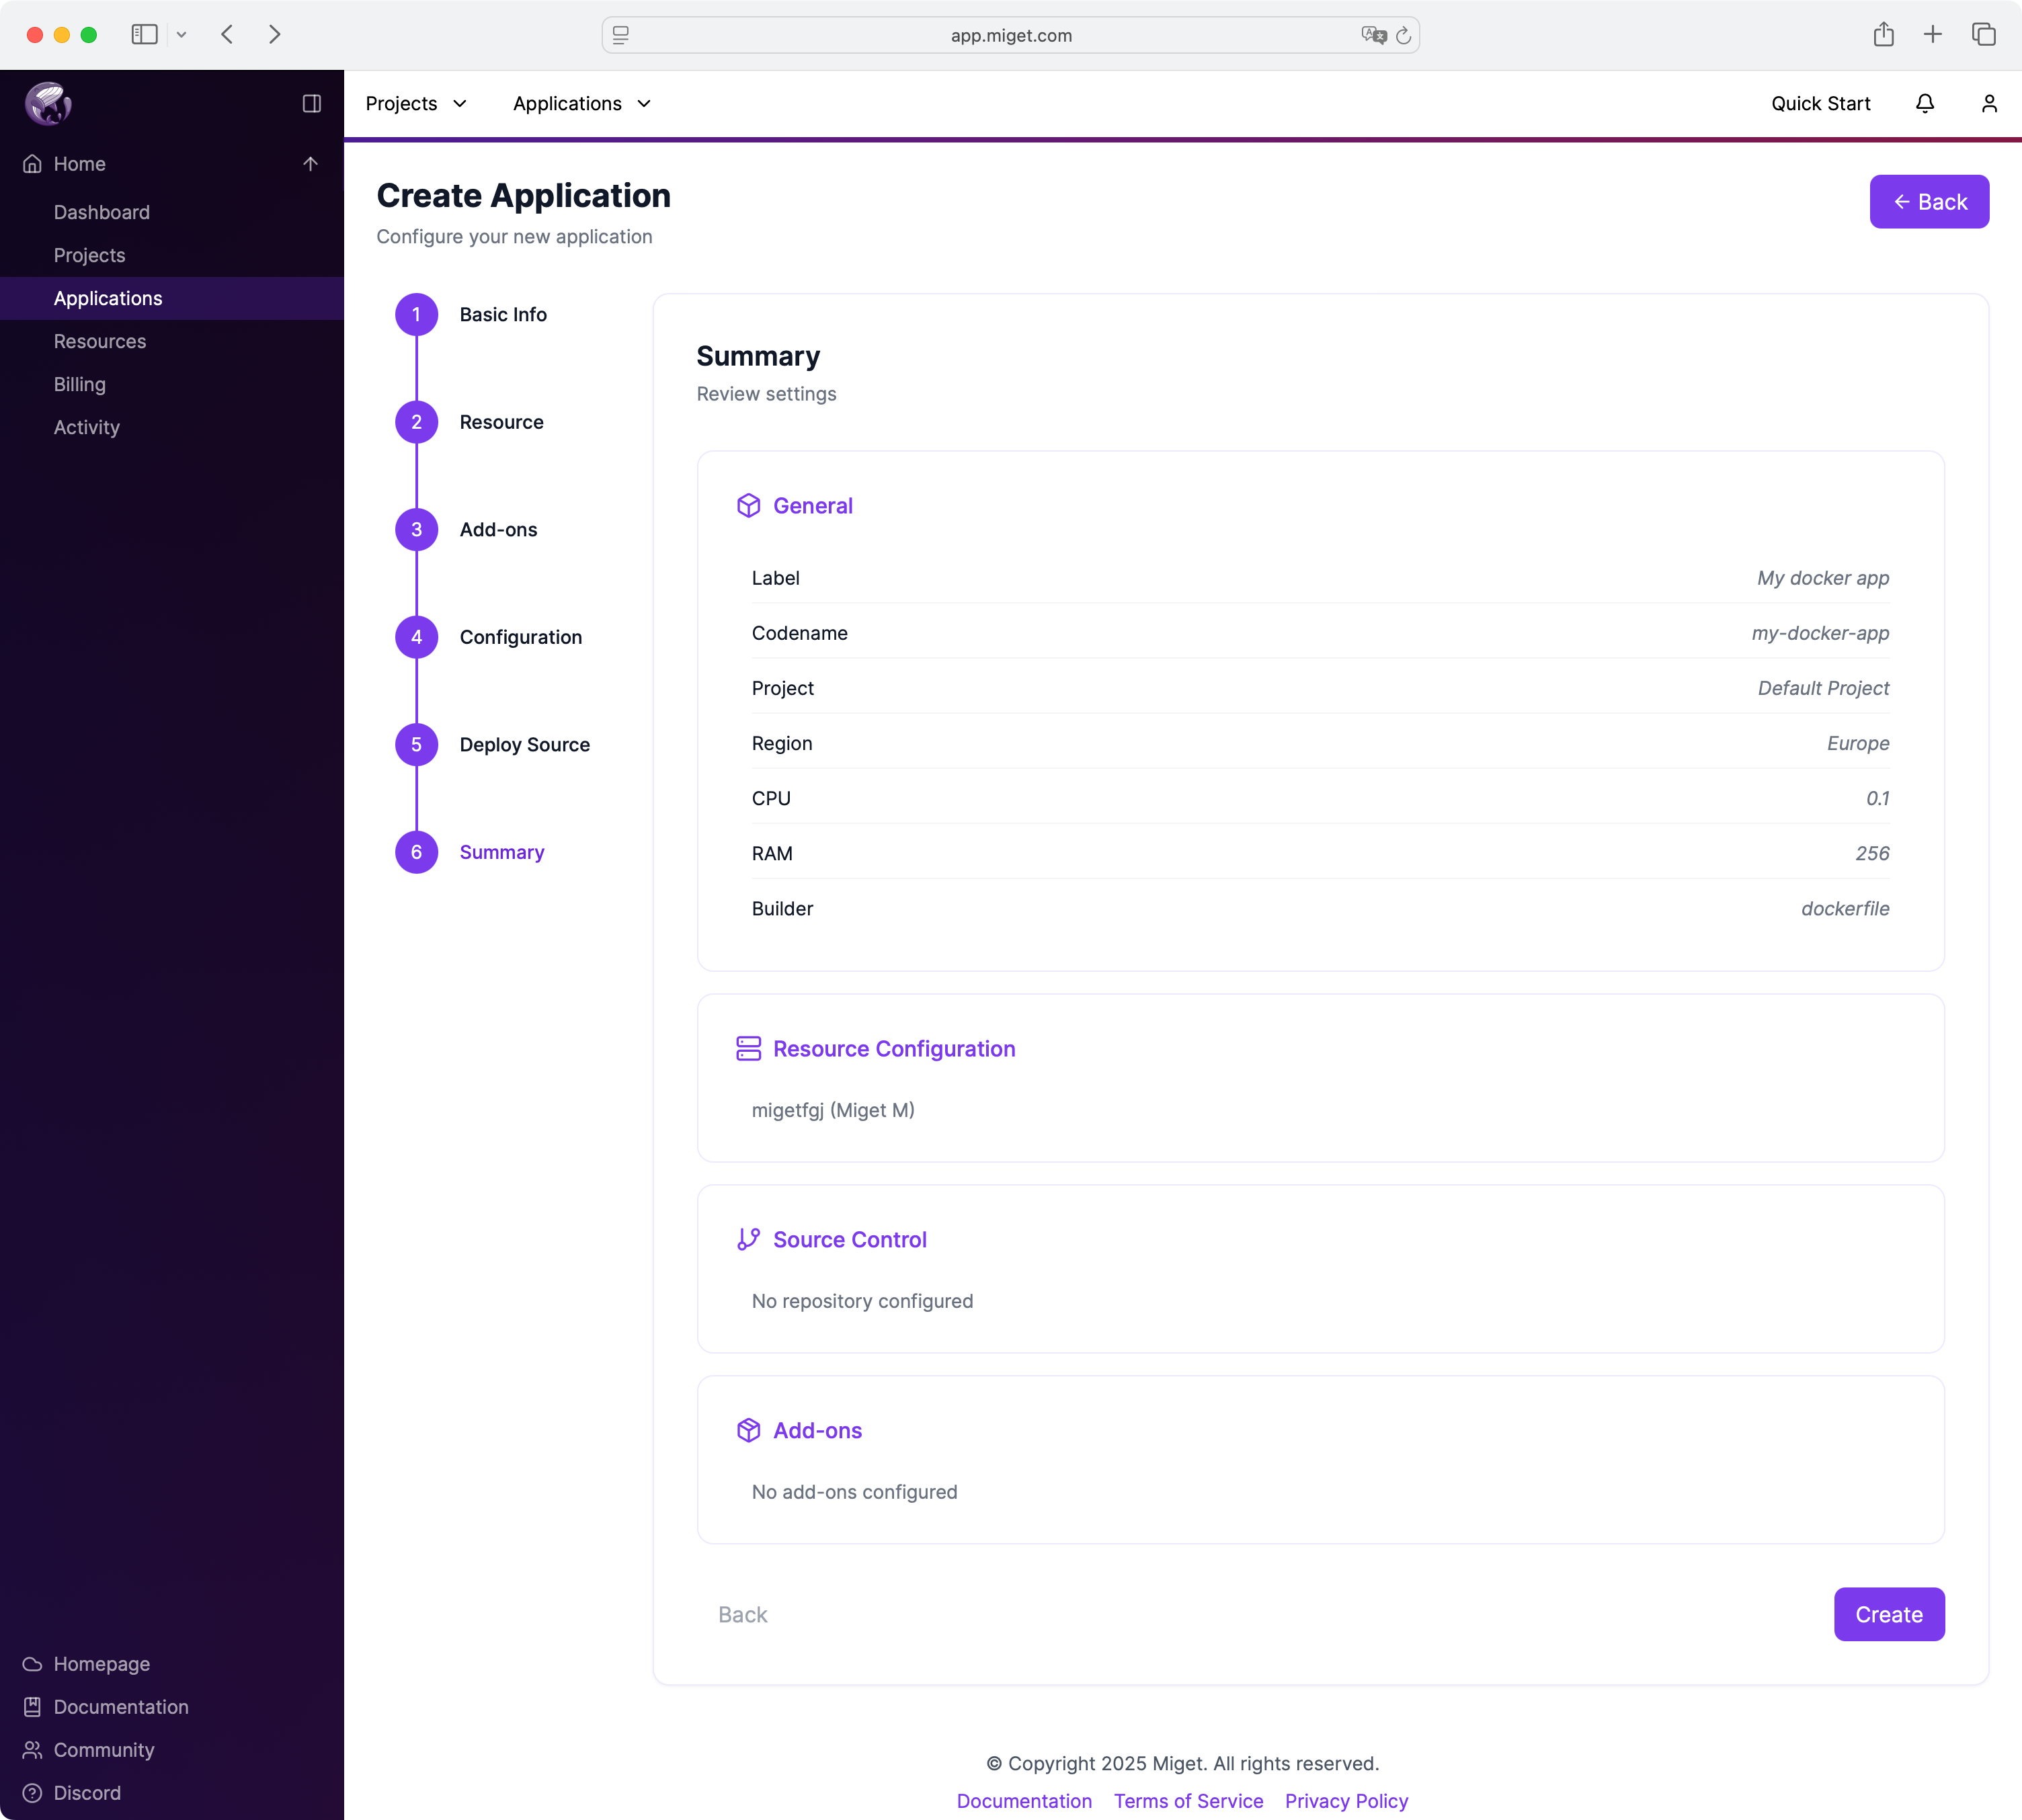
Review and Create
You'll be shown a summary of your app. Review the configuration, and click Create to finalize your application.
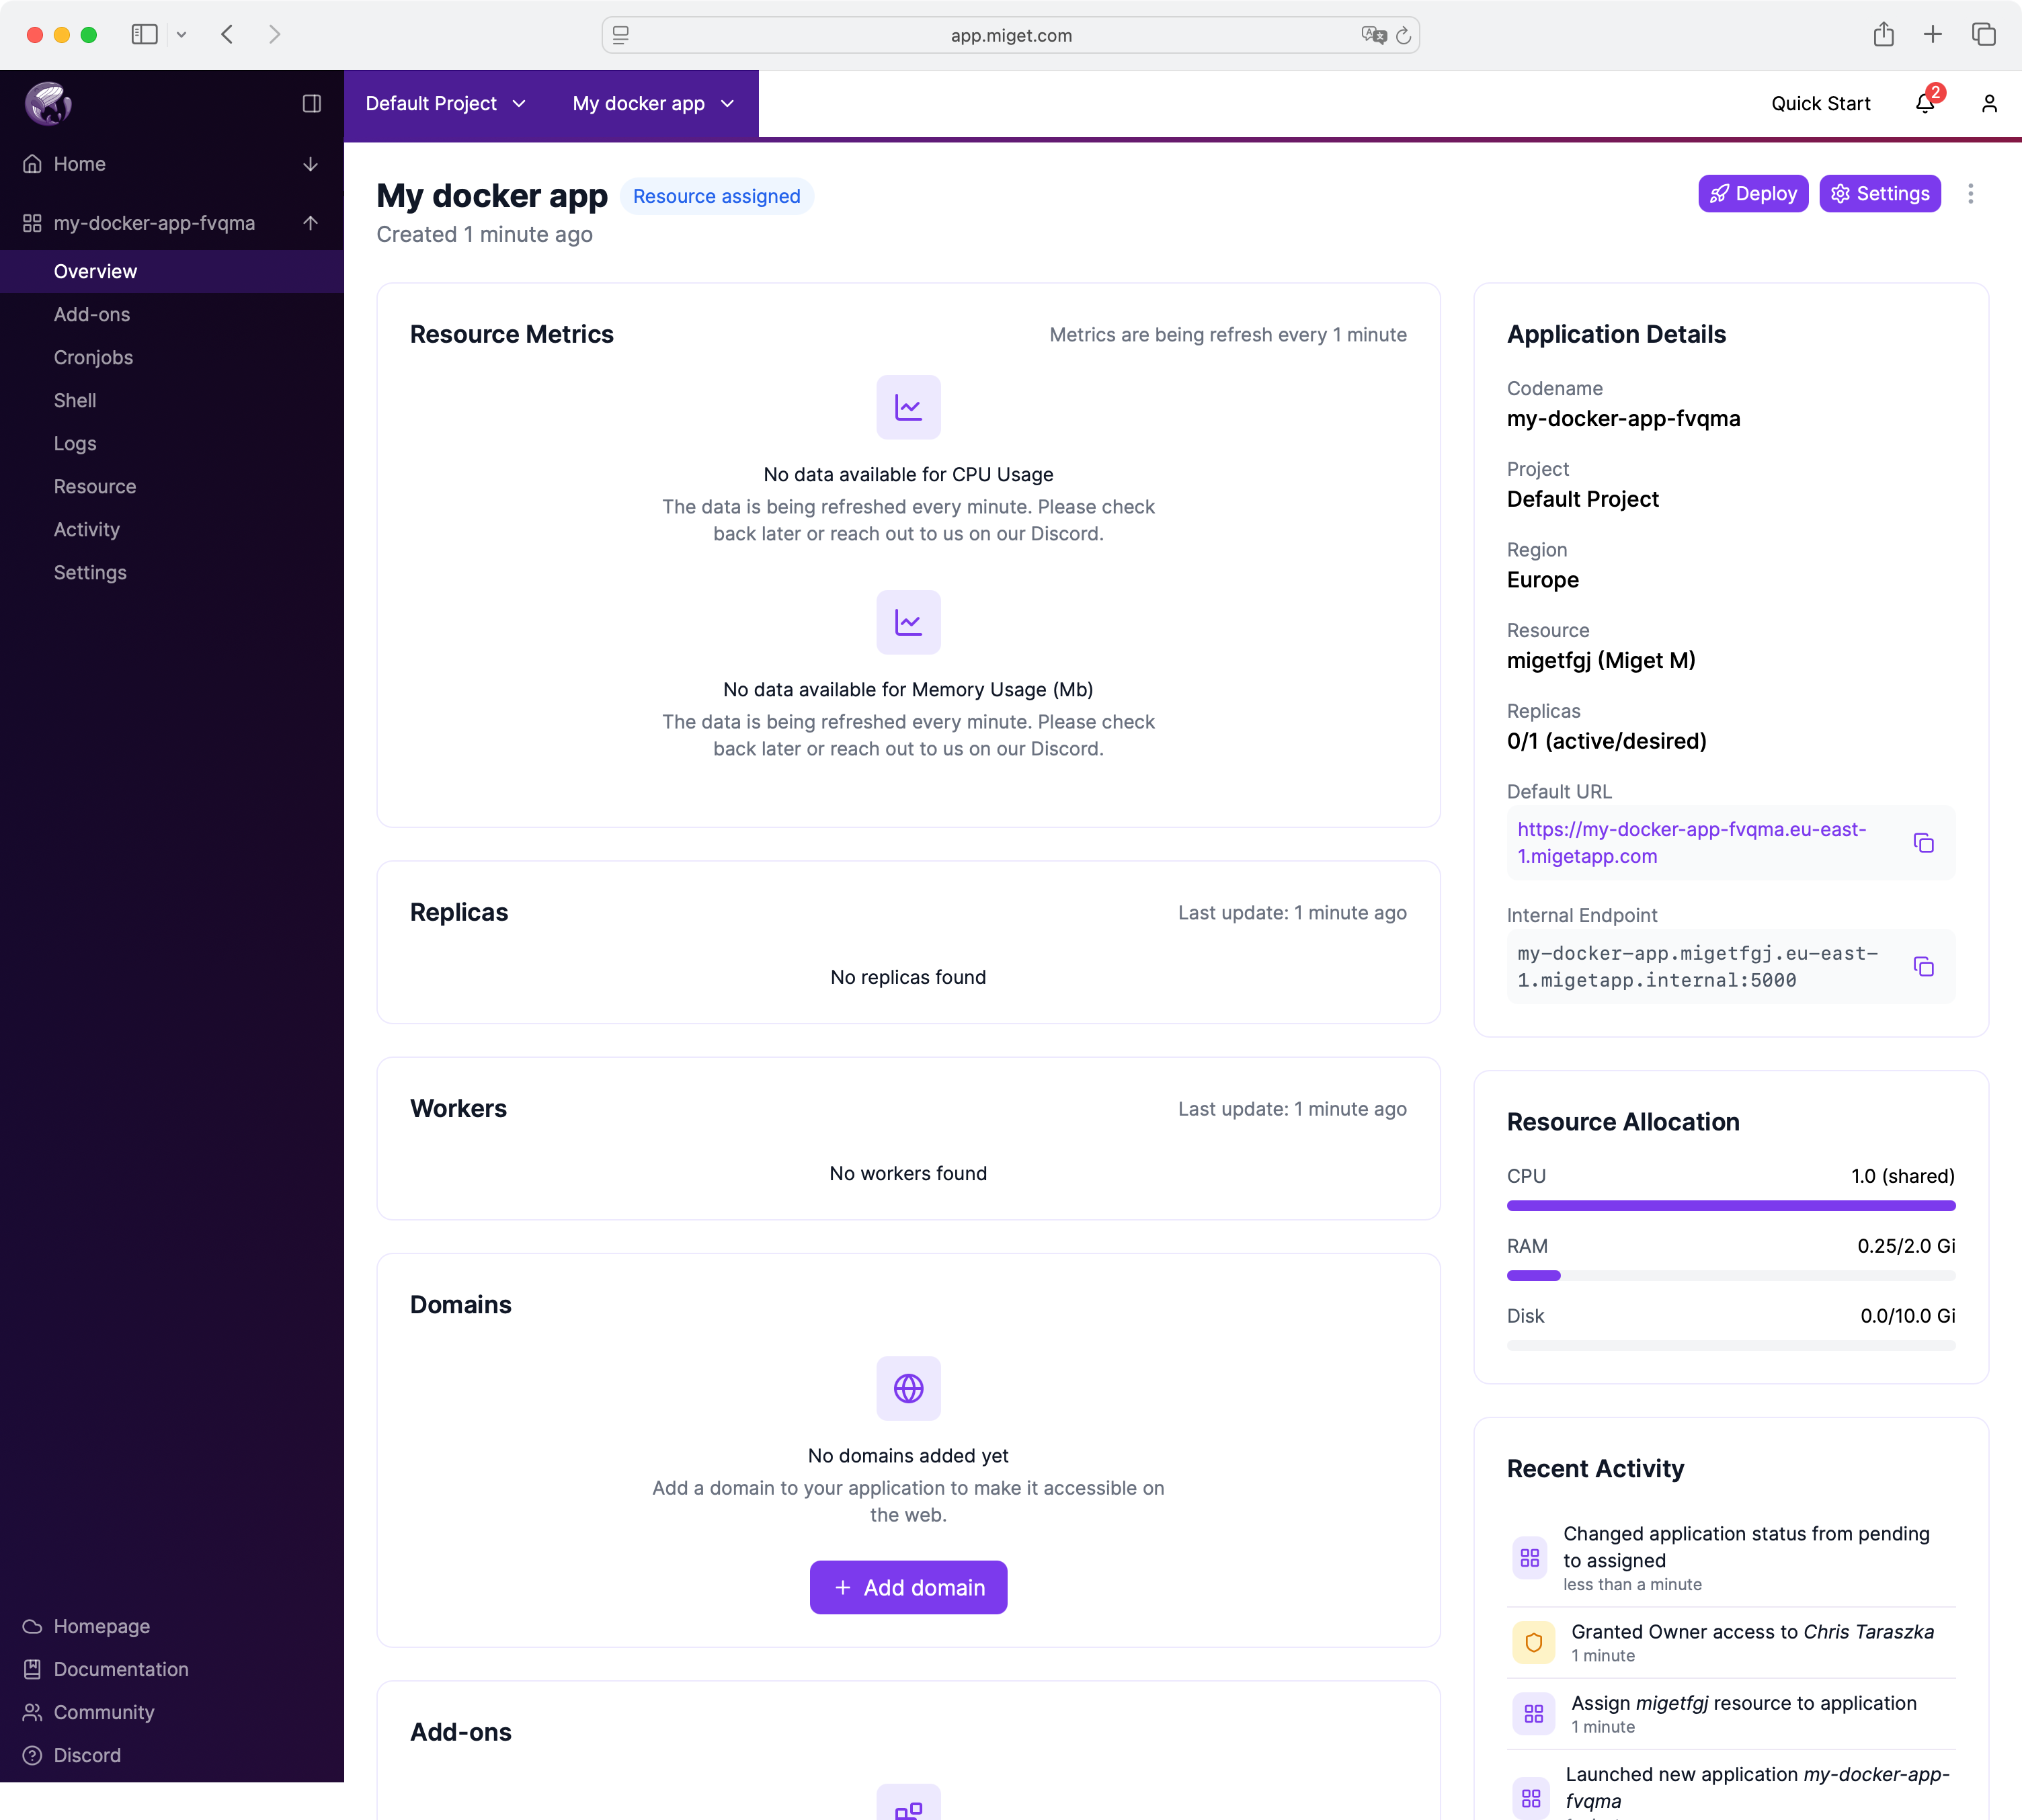
Step 5: Deploy!
Once the app is created, you can deploy your Dockerized app to Miget. Click Deploy button to start the deployment process.
Link your Git repository
You have been redirected to the Settings > Git Tokens section. Add a new token to enable Git-based deployment. The token acts as the password, while the username is auto-generated based on the token name.

Step 6: Git Push to Miget!
You can now push your code to Miget! Use the following commands:
git config push.autoSetupRemote true
git remote add miget https://git.<region>.miget.io/<your-miget-name>/<app-name>
git push miget main
Replace <region> with a region code of your Miget, <your-miget-name> with your resource name, and <app-name> with your application name.
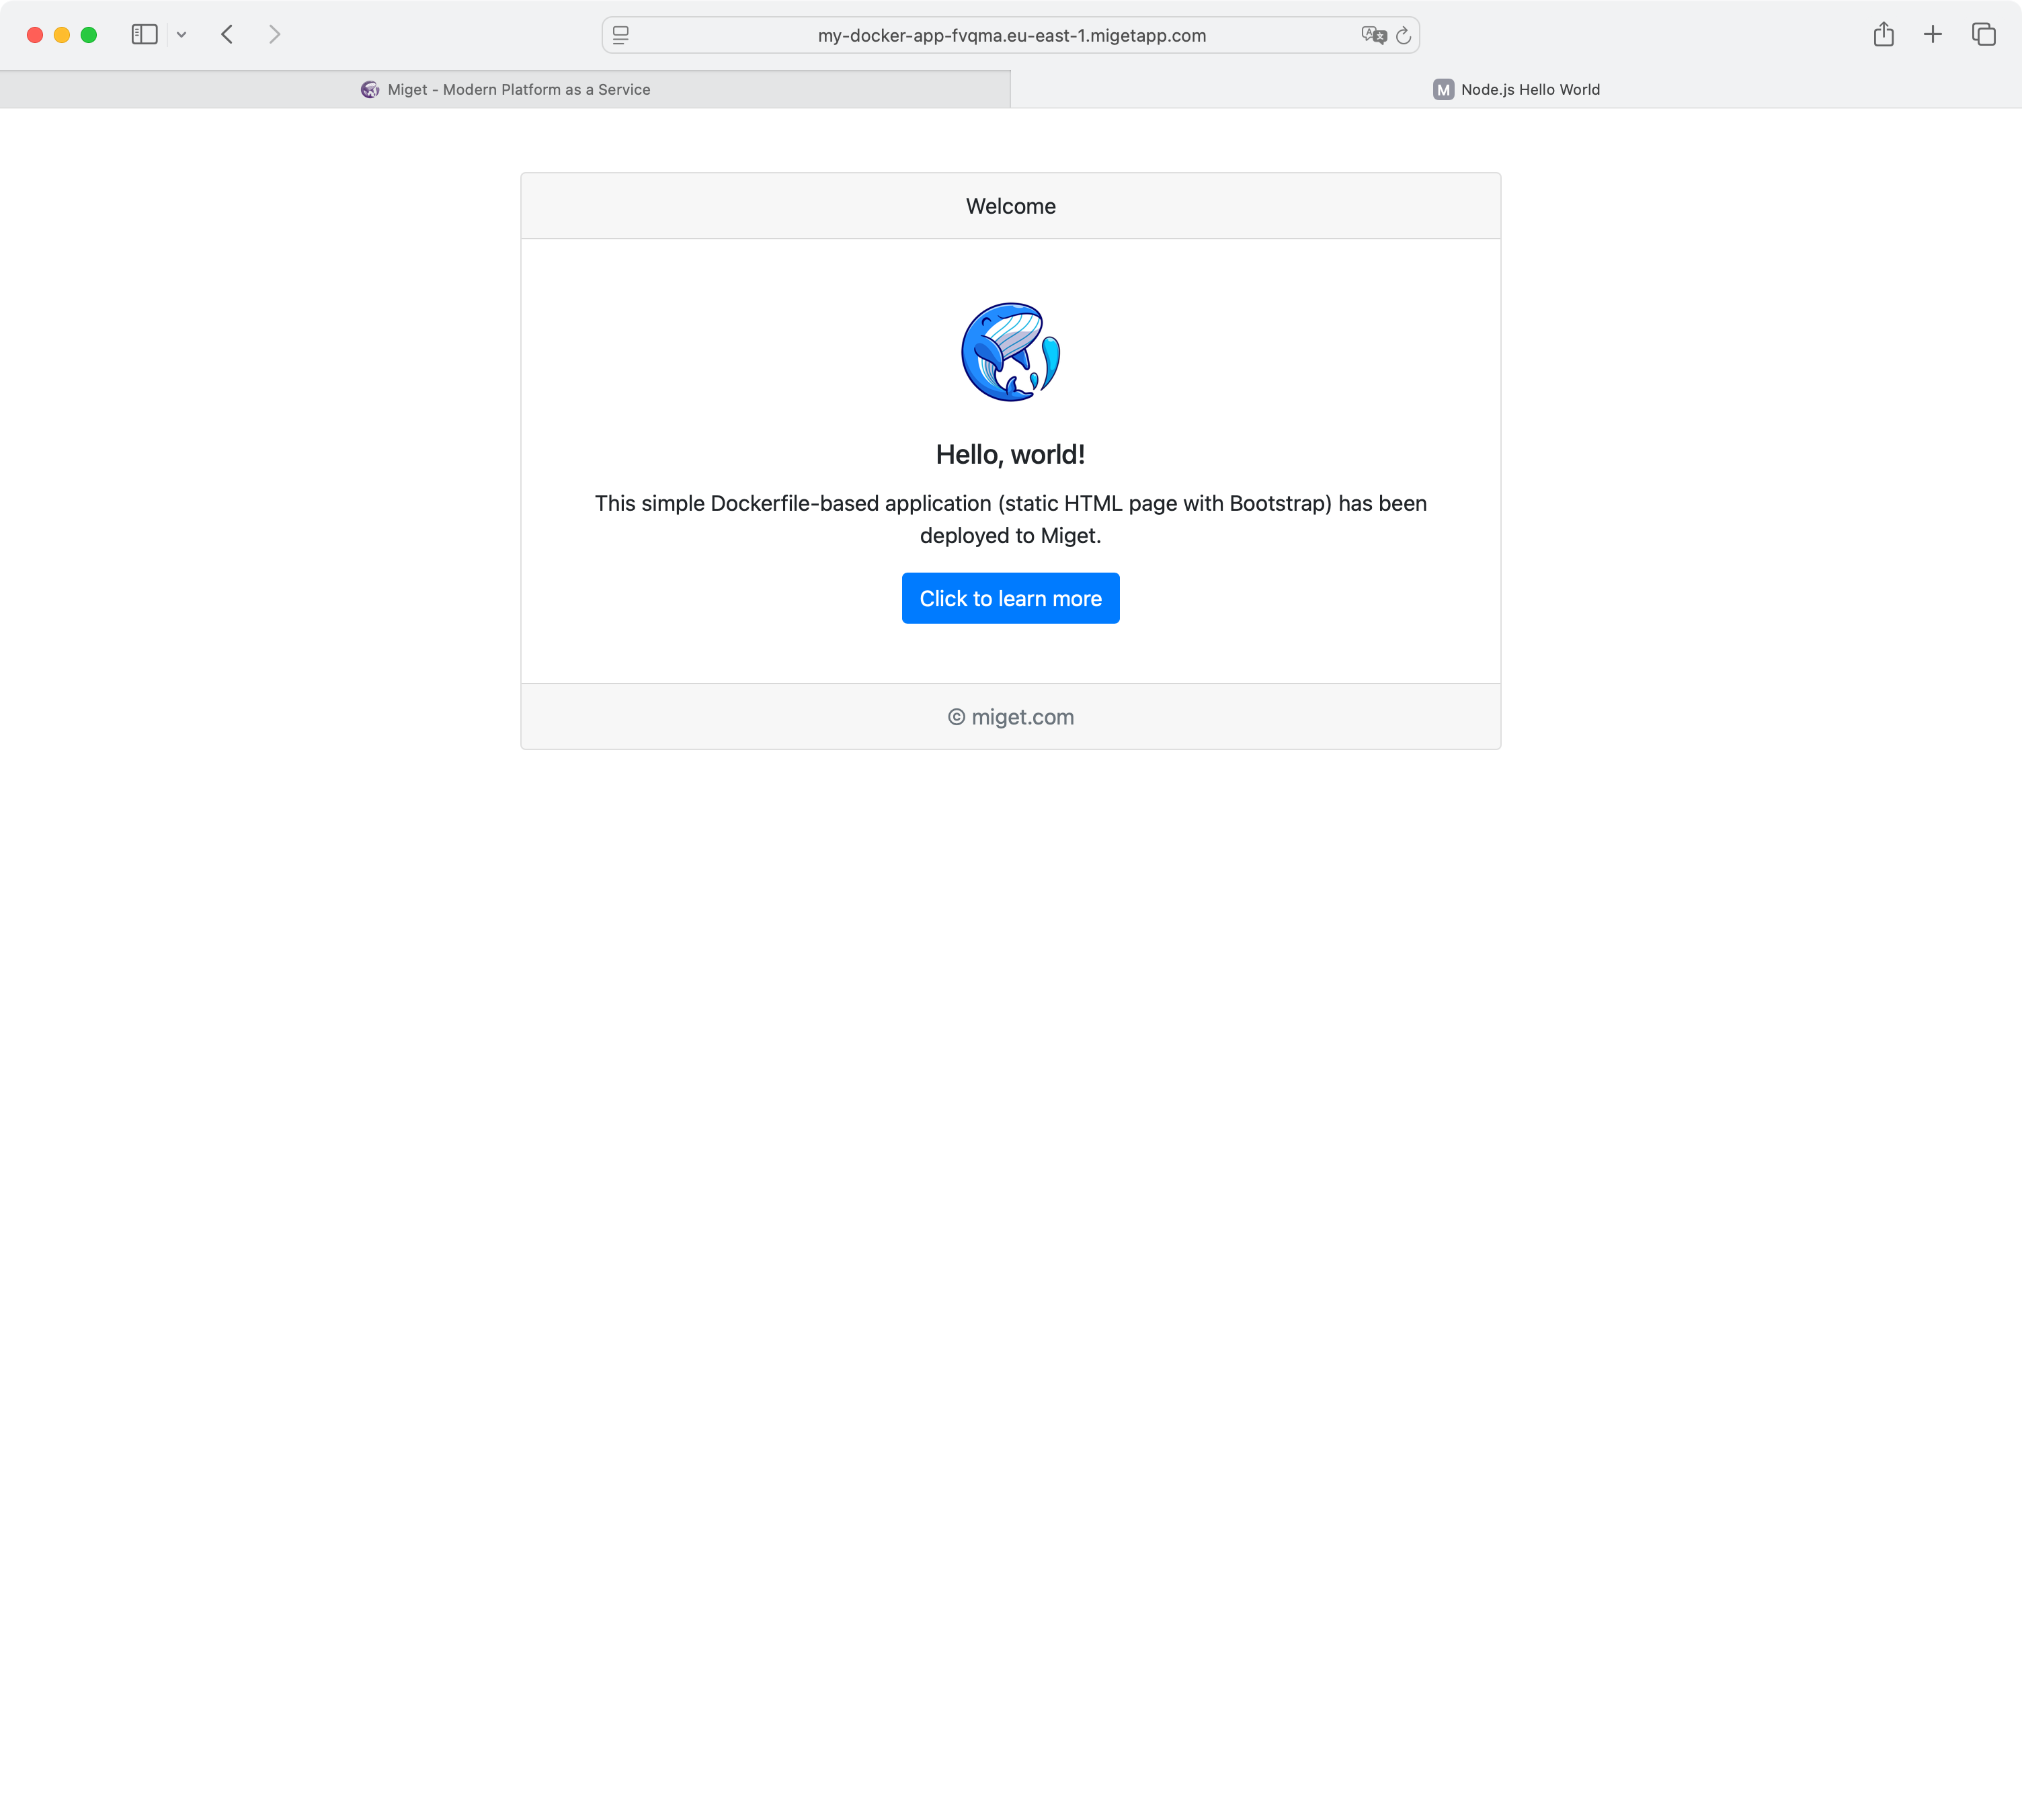
You should see your Dockerized app being deployed to Miget. Once finish, you will see a message that your app is ready to be used.
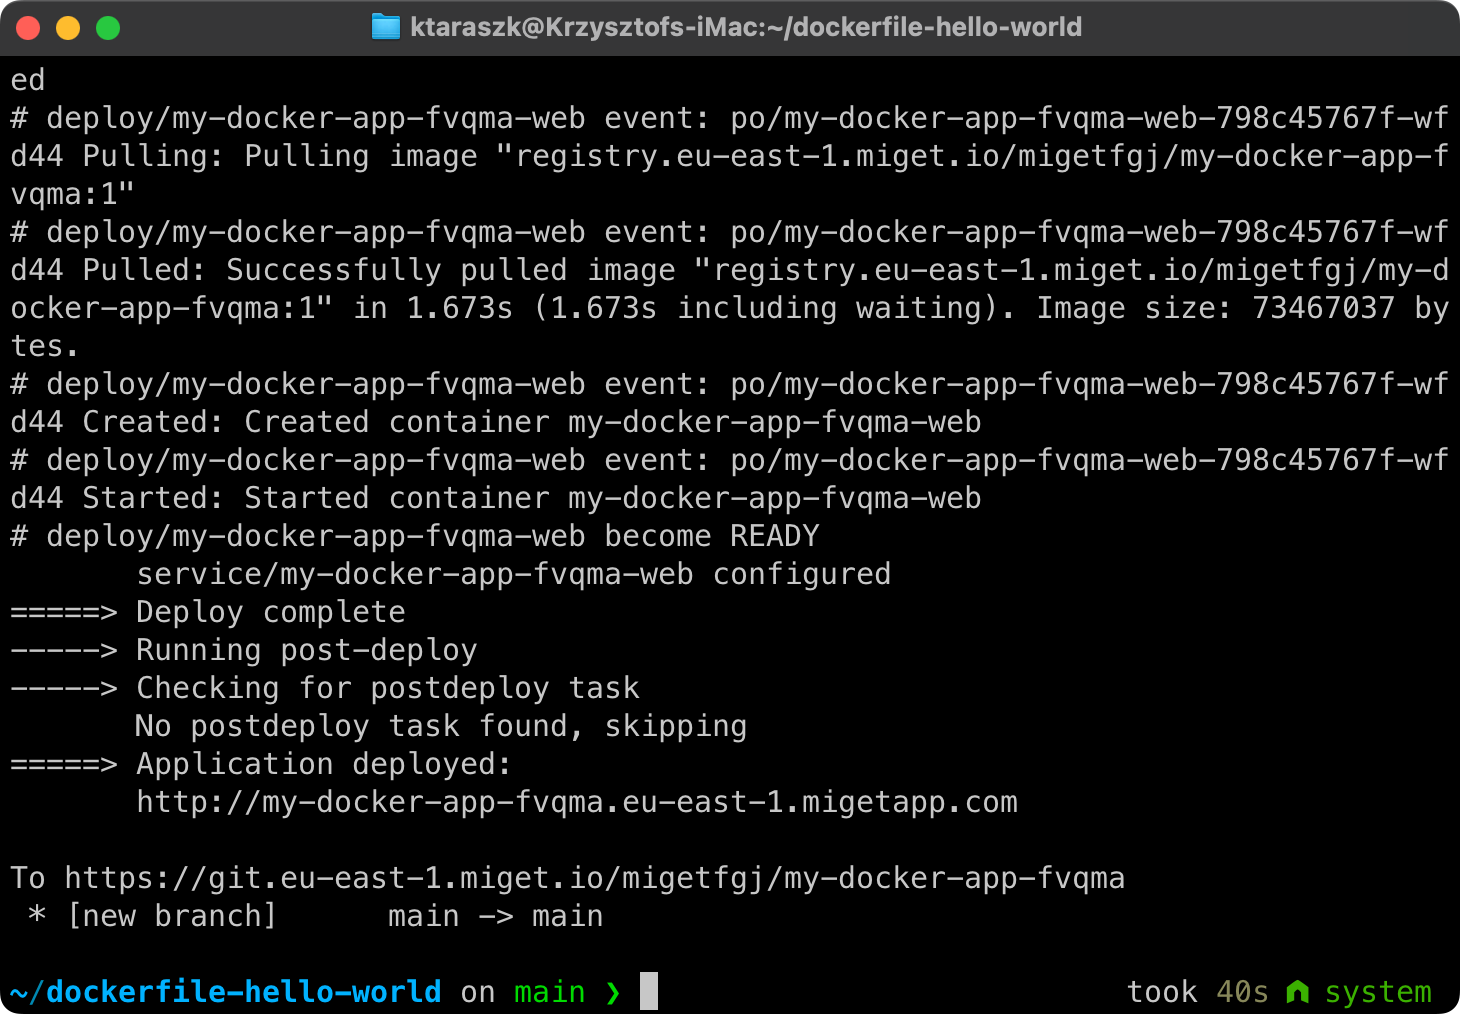
Your app is now live and ready to be used! You should see status Running in the app overview.
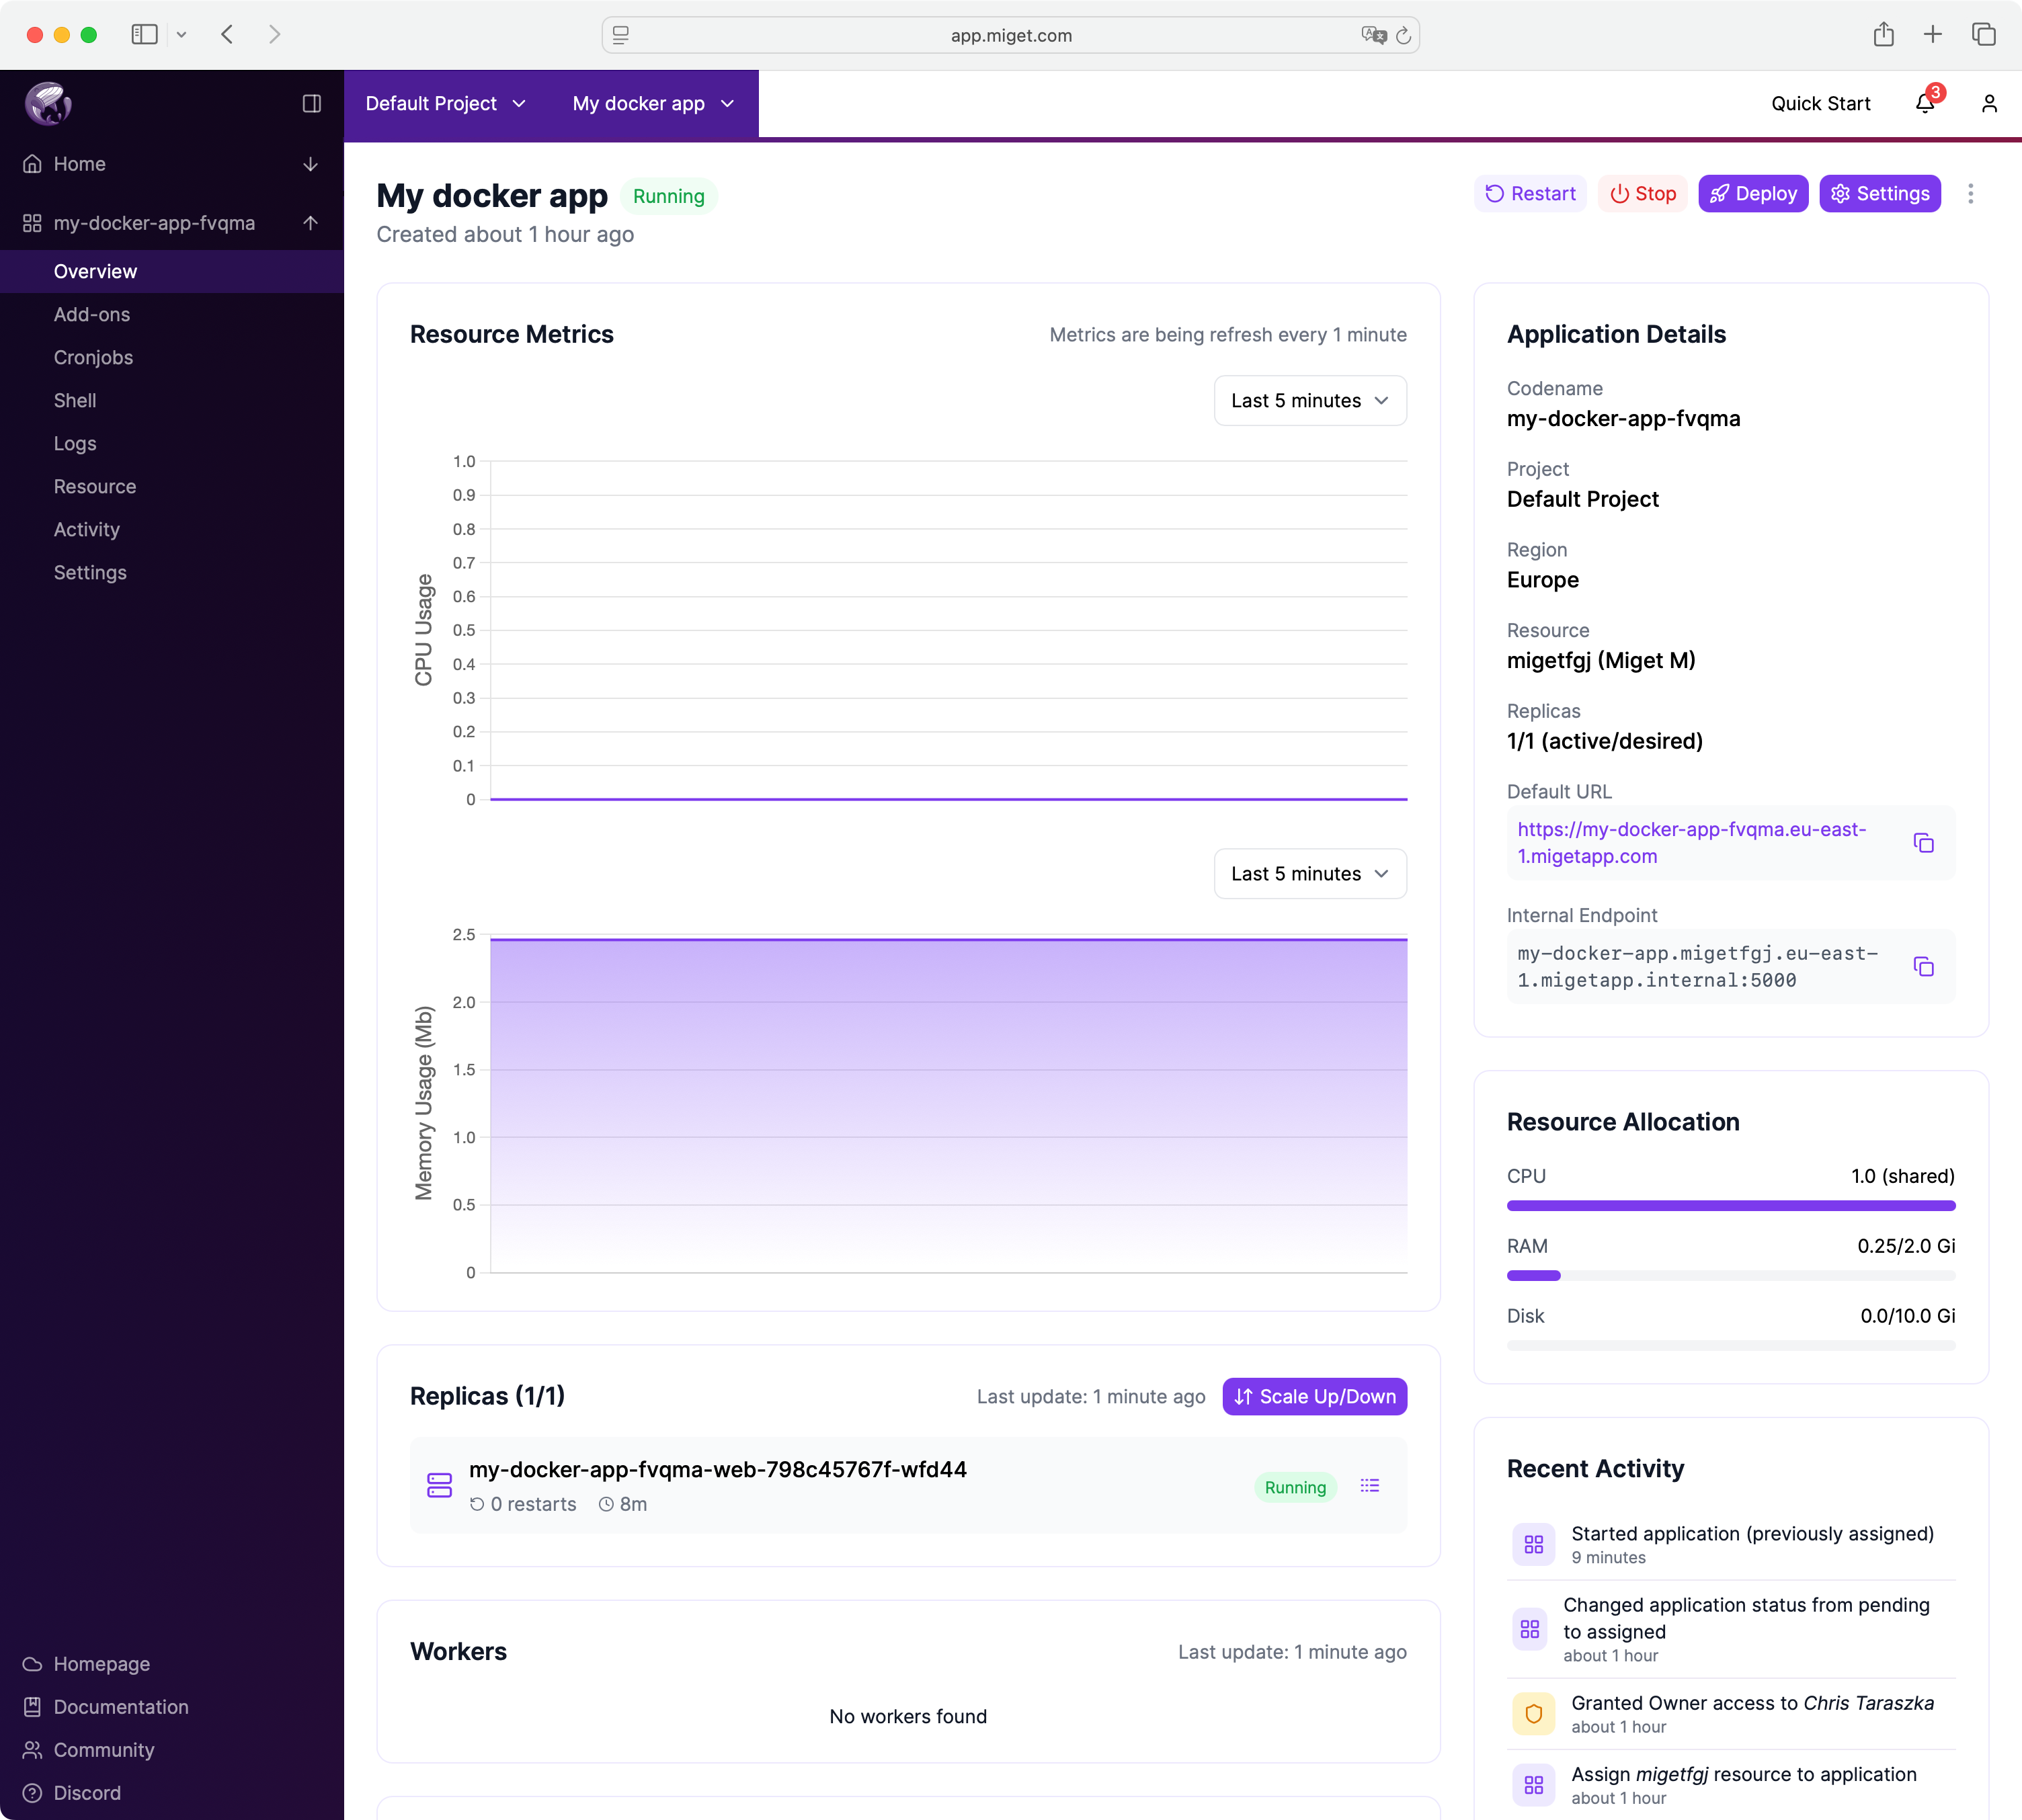
You can now access your app at https://<app-name>.<region>.migetapp.com